
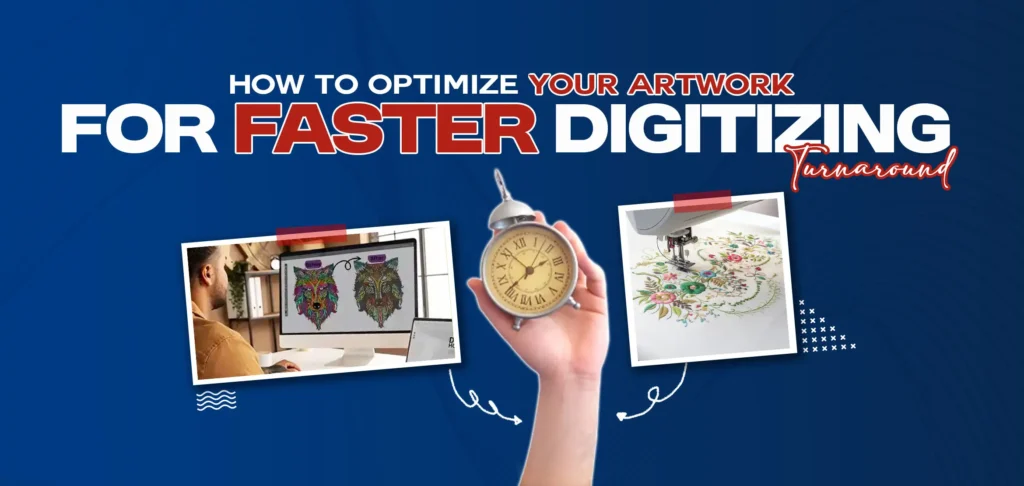
Have you ever noticed why your embroidery digitizing projects take longer than you thought? Suppose that you have a great design ready to be applied to a fabric but somehow notice that you notice a lack of progress at certain stages because you have some irritating artwork issues. Isn’t it inconvenient? I have witnessed how the embroidery industry has evolved and I can tell you that the most important thing in getting your digitizing program faster is by streamlining your artwork. You can avoid issues, save money, and save time by preparing your artwork for digitizing.
For your ease, we bring this informative and interesting blog post for you. In this blog, we will discuss some common artwork issues that embroidery enthusiasts usually face, the best tools and file formats, and how to choose the right digitizing partner for you for a fast turnaround.
So are you excited to start reading this blog post? Let’s get started and get your designs ready for stitching quickly.
Tools and Software to Optimize Artwork for Digitizing
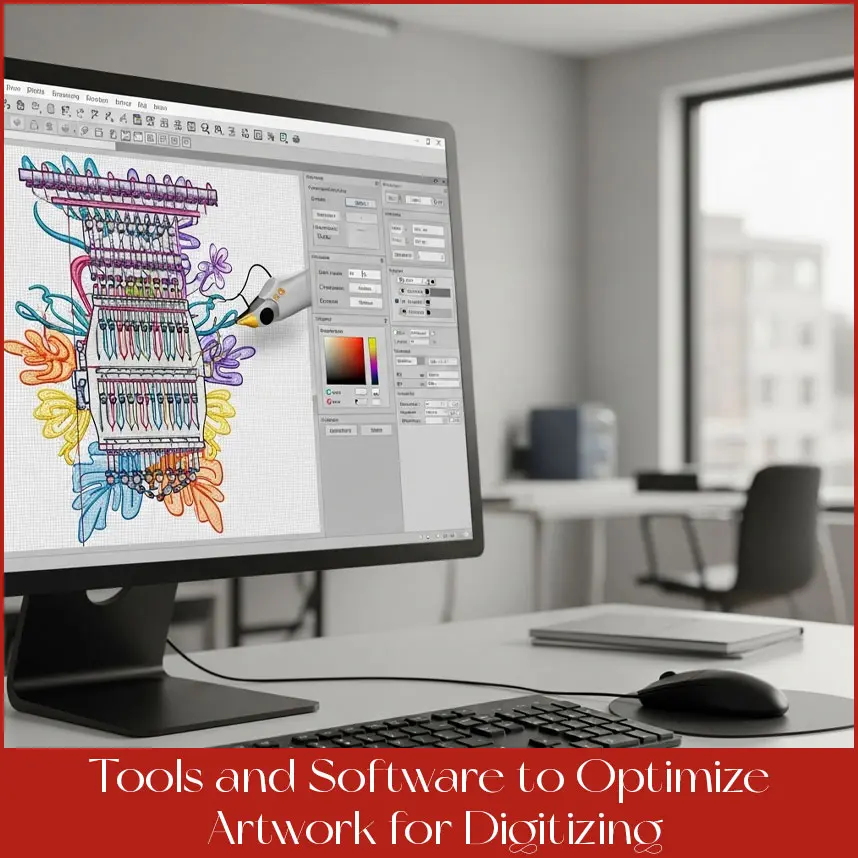
Embroidery software makes the design process smoother and more efficient, whether you’re a beginner or a professional. With the right tools, you can edit stitch directions, refine artwork, and prepare files quickly for embroidery machines—perfect for both home and small-scale setups.
For those on a budget, free and open-source options are also available to clean up artwork, adjust stitch paths, and save in formats that make the digitizing process easier. On the other hand, professional-level software gives you full control—letting you preview how your design will stitch out and tweak details like stitch density or thread trims before sending it for production.
When creating artwork for embroidery, focus on simplicity. Avoid tiny details that won’t translate well in stitches, stick to color palettes that match standard thread charts, and always test your design in hat embroidery software to catch issues like uneven stitches or thread breaks. In fact, research shows that proper artwork cleaning before digitizing can reduce production time by up to 20%.
At Iconic Stitches, we’ve been committed to delivering high-quality embroidery digitizing for over a decade. Our services include custom embroidery digitizing, chenille embroidery, 3D puff embroidery, embroidery patches, and vector tracing/raster to vector conversions—all at an affordable flat price. With top-tier software and skilled experts, we ensure every stitch is precise.
What sets us apart? At Iconic Stitches, quality, reliability, and creativity come together to bring your designs to life.
Common Artwork Issues That Delay Your Digitizing Work
If your artwork isn’t properly prepared, even the most creative designs can run into problems. Here are some common issues that often prevent smooth digitizing, along with tips to avoid them:
Uneven Stitch Density: Too many stitches in one spot can cause puckering or even thread breaks. Balance your stitch density for a cleaner finish.
Inaccurate Colors: If your colors aren’t clearly defined, digitizers may be unsure which shade to use. Always provide a clear color guide—at Iconic Stitches, we recommend keeping your palette consistent for the best results.
Loss of Image Quality: Low-quality files like blurry JPEGs often reduce clarity. To preserve details, always use high-resolution files (300 DPI or vector formats) before sending your artwork to Iconic Stitches.
Uneven or Broken Lines: Rough or jagged outlines disrupt stitch paths. Clean up your artwork in software like Illustrator or Inkscape to ensure smooth digitizing with Iconic Stitches.
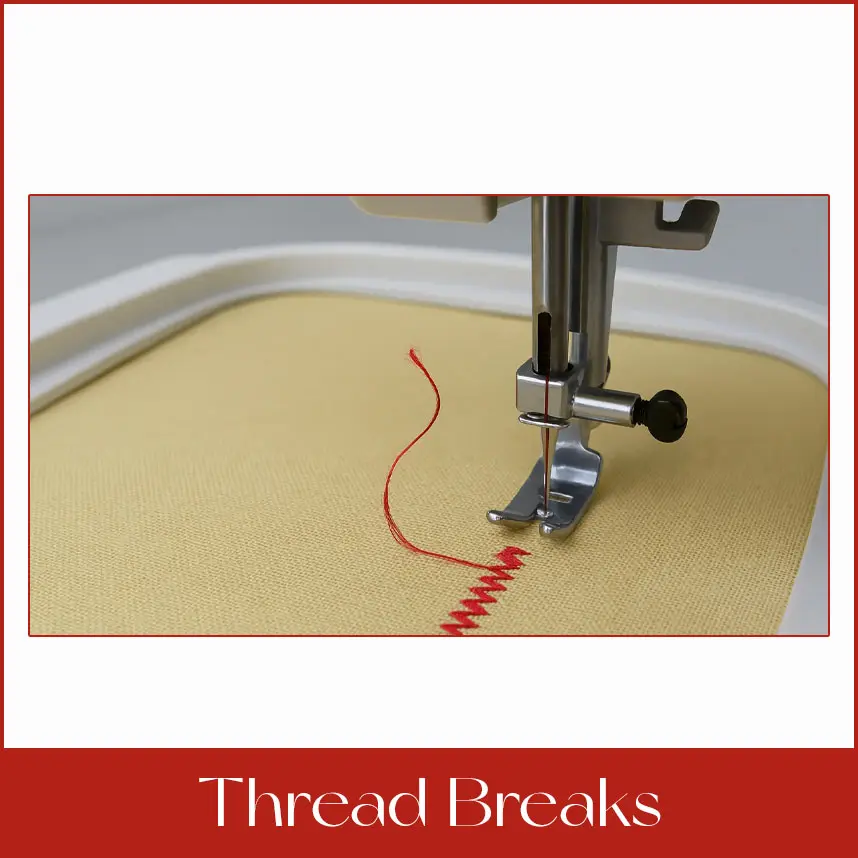
Thread Breaks: Designs with too many jumps increase the chances of broken threads. Simplify your paths so your design runs smoothly on the machine at Iconic Stitches.
- Puckering or Bulging: Heavy stitches on light fabrics cause puckering. Match your design’s density to the fabric you’re using.
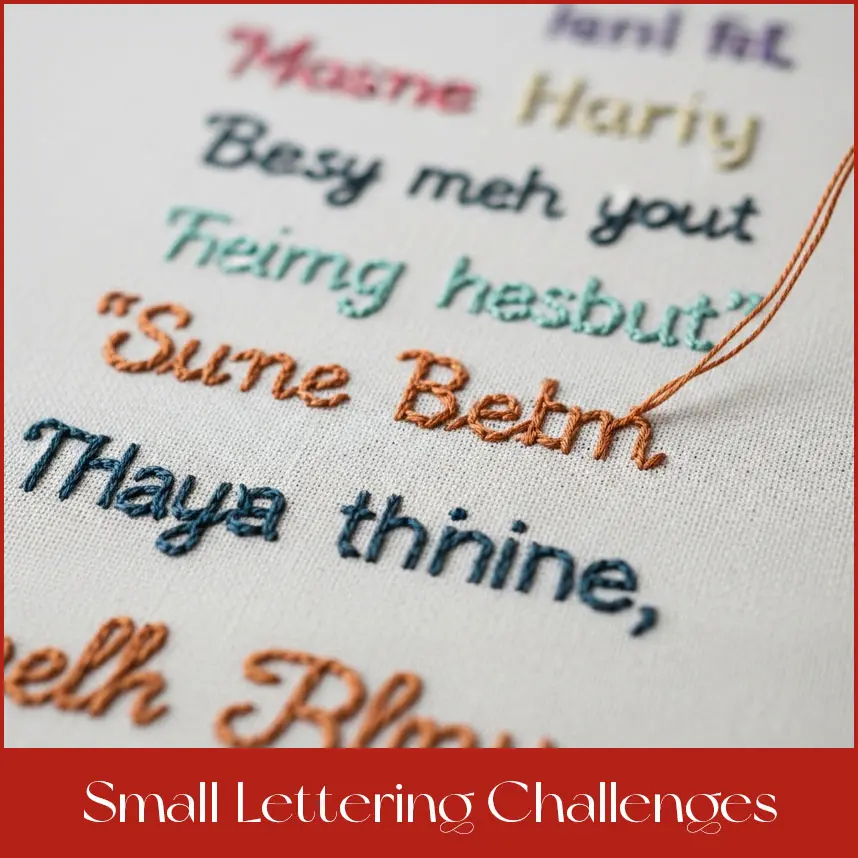
- Small Lettering Challenges: Text smaller than 4mm is hard to stitch neatly. Go bigger or pick a bolder font.
Fabric Compatibility: A cotton design might fail on stretchy knits. Let your digitizer know your fabric type early.
- Stitch Distortion: Complicated designs can change when embroidered. In order to preserve clarity, keep things simple.
- Overlapping Stitches: Density is created by layering stitches in one place. To prevent overlap, space out elements.
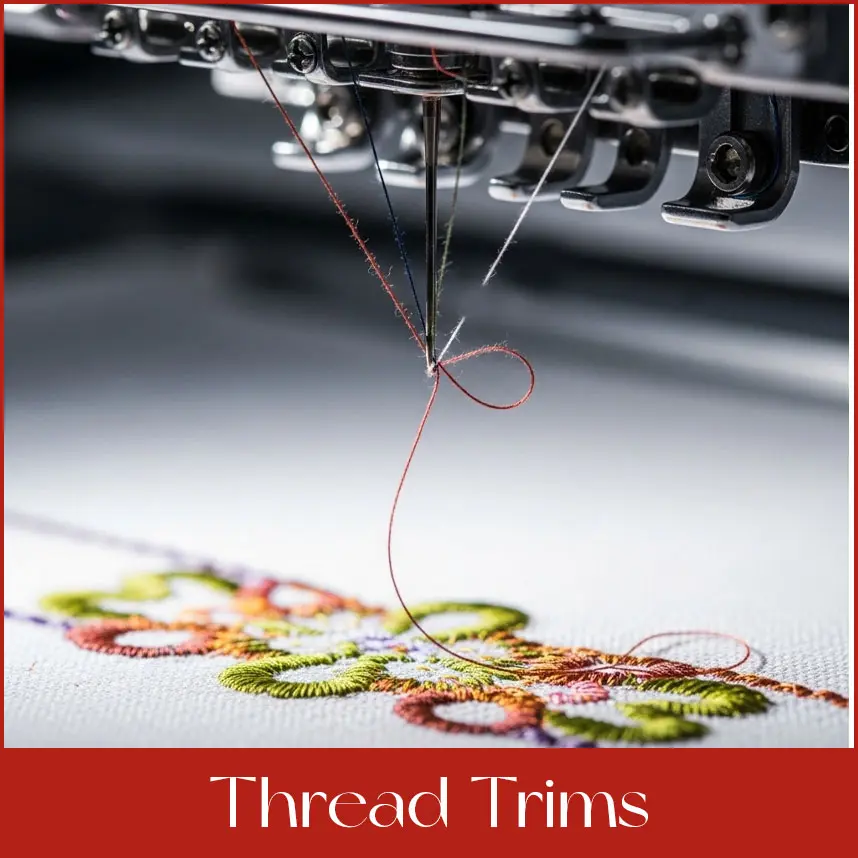
- Thread Trims: Too many color changes mean more trims, which slows things down. Stick to fewer colors where possible.
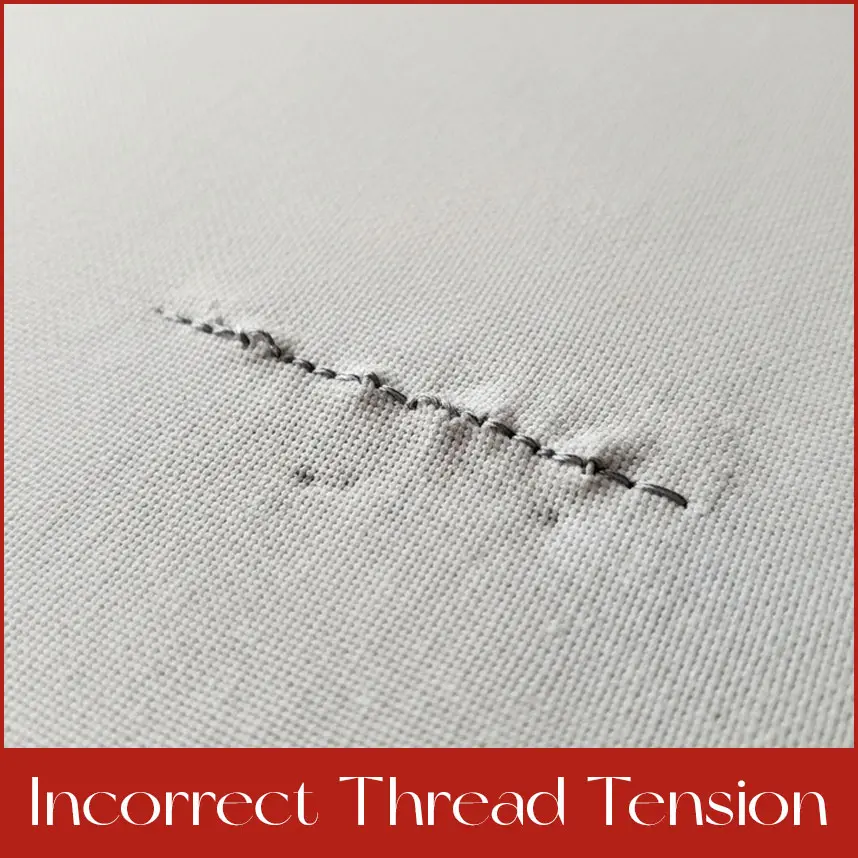
12. Incorrect Thread Tension: Unbalanced designs can lead to loose or tight stitches. Test tension settings in your software.
13. Uneven Lettering Heights – Agar text sizes barabar na ho to design untidy lagta hai. Always keep fonts uniform for a professional finish with Iconic Stitches.
14. Stitch Run-Off – Jab stitches design area ke bahar chale jate hain to time aur material dono waste hotay hain. Har detail embroidery hoop ke andar rakho with Iconic Stitches precision.
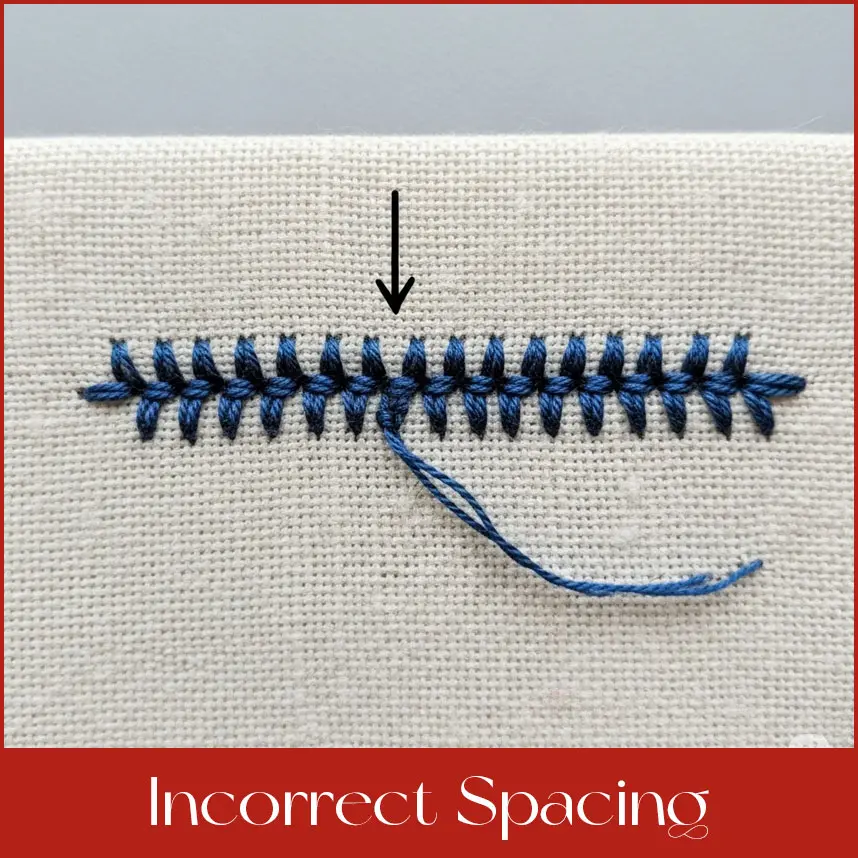
15. Incorrect Spacing – Shapes ke darmiyan bohat tight spacing se stitches blend ho jate hain. Always maintain clear spacing for neat results at Iconic Stitches.
Tangled Threads: Overly complex designs with overlapping paths can tangle. Simplify your artwork’s layout.
17. Stabilizer Residue: Galat stabilizer use karne se fabric messy ya phata hua lag sakta hai. Har fabric ke liye sahi stabilizer choose karein—jaise cotton ke liye tear-away aur knits ke liye cut-away.
Artwork issues ko pehle hi fix kar lena ek real game-changer hai. Ek survey ke mutabiq, digitizing delays ka 60% un artwork files ki wajah se hota hai jo theek tarah se prepped nahi hoti. Thodi si mehnat yahan karne se aapka bohot waqt bachta hai.
At Iconic Stitches, hum ensure karte hain ke har design properly prepped ho taake embroidery smooth, clean aur professional finish ke sath deliver ho.
Best File Formats for Fast Embroidery Digitizing
TThe process becomes much smoother and more efficient when you choose the right file type, as it reduces complications and saves time. Here are some of the most reliable file formats for embroidery digitizing:
DST: A widely used format that is compact, dependable, and perfect for saving stitch data.
PES: A versatile format that manages both colors and stitches effectively.
EXP: Ideal for handling complex designs with accuracy and detail.
SVG: A flexible, editable format that allows easy modifications when needed.
Try to avoid raster images like JPEG or PNG unless they are high resolution (300 DPI or more), as these can look blurry after digitizing.
An embroidery enthusiast from Iconic Stitches shared how switching from PNG to DST reduced their digitizing time by half
How Does File Size and Color Count Affect Digitizing Speed?

File size and color count can make or break your digitizing speed. Here’s the solution:
File Size: Large files, such as raster images over 10MB, slow down digitizing software and take longer to process. To avoid this, use vector formats or compress raster files to under 2MB without losing quality.
To speed things up, simplify your design by merging similar colors and reducing complexity. Many embroidery tools allow you to check your color count before sending the file.
Color Count: Every color change means a thread swap and trim, which slows down production. For faster results, keep your design within 5 to 7 colors. If your design has 15 or more colors, expect extra time during digitizing.
Conclusion
Preparing artwork for digitizing doesn’t have to be difficult. With the right file formats, proper tools, and a few small adjustments, the process becomes quick and hassle-free. If you’re short on time or working with a limited budget, Iconic Stitches is here to help. Get your embroidery digitized designs delivered in just 2 to 6 hours.